Firstly :
DOWNLOAD Installer Android for X86.
Second : Install VMWare (version 7.1.xx), and create a Virtual Machine as below.

Third : Set Boot from CDRom First. Then Use the ISO file has been downloaded as the Bootable CD. Then select the mode "Installation".

Fourth: The next step is to create a partition of the hard drive that we have prepared in VMWare Workstation.


Make sure that our hard drive as a bootable media.


Sixth: We specify the format our hard drive with ext3.

Seventh: The format of the process we begin ...

Eight: Determine install GRUB Boot Loader.

Ninth: Then we process formatting the hard drive ... and install the Android ...

Tenth: The Android Installation was successful and we can continue Running Android or perform Reboot and enjoy the results of our installation ...

Eleventh: The following is the startup process that we have Android installed last ...

Twelfth: The following has appeared Android our first look ...
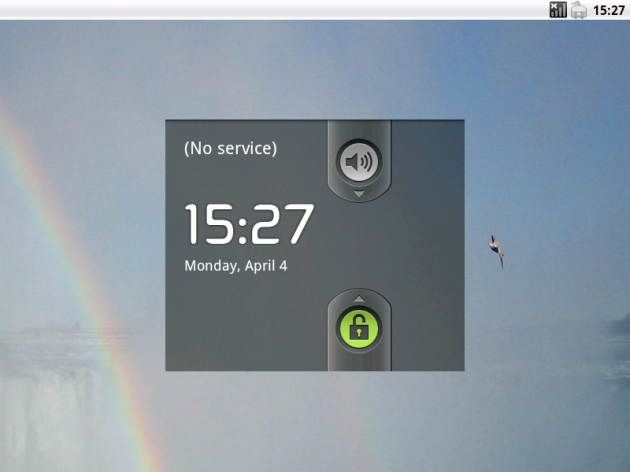
Thirteenth: The following is after unlocking the initial view ...

Fourteenth: The following is a full view our Android application menu.

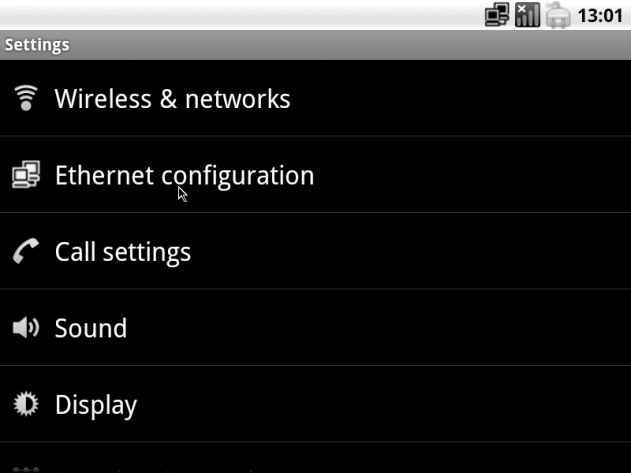
Fifteenth: Here's what to watch out for Android in VMWare we can to communicate with our Real Network. Namely: bridged network and the IP Address in our Android DHCP settings ...


Sixteenth: After setting is completed, we try to enter the browser and the result ... Android on VMWare we can access the Internet through DHCP from the router ...

Labels:
android

0 Komentar untuk "Install Android on your PC"